How to import Google contacts from the old account to the new account? Today, I want to share with you on how to use the CSV file to import your Google Contacts address book into Gmail, and easily export your contact list to your new mailbox!
How to import and export Google contacts?
We can store the contact’s name, email address, phone number, and other contact information in Google Contacts. However, when we need to change the device or email address, how can we smoothly transfer our contact information to a new location?
Export contacts from old mailbox
Step 1. Sign in to your Google contact
Step 2. Choose the Google contact you want to export:
- Select a specific contact: Check the box next to the contact name, then click on”More”then click”Export”.
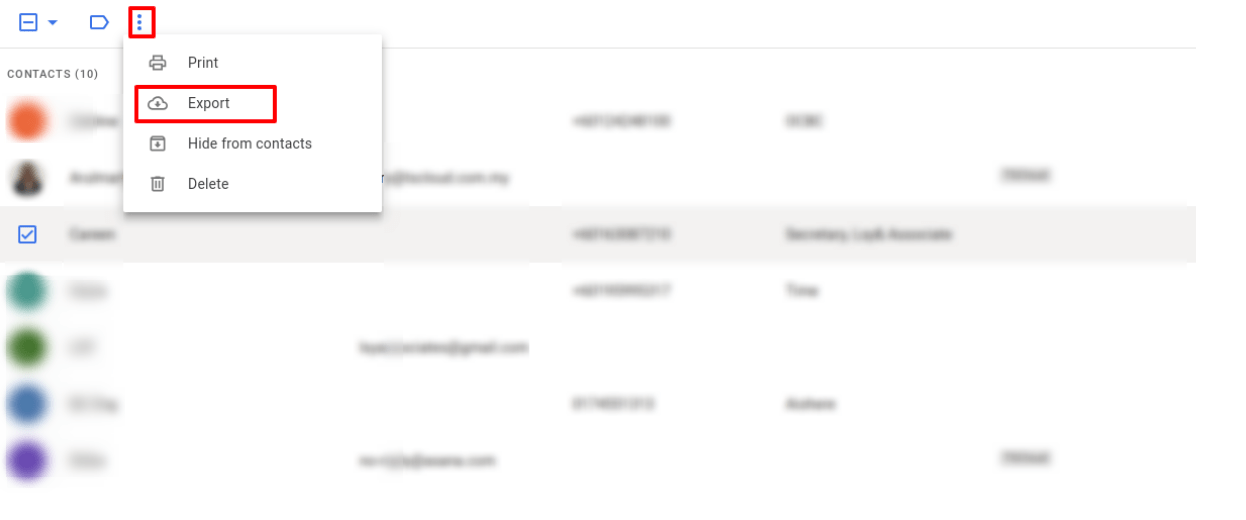
- Select contact group: Click”More”, click”Export”, and then select the desired group
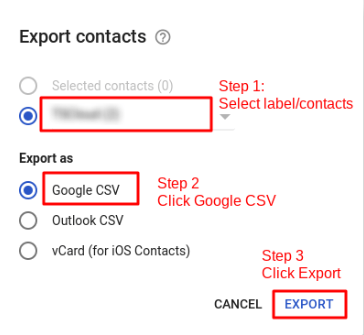
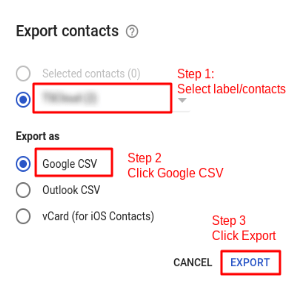
Step 3. Save your Google contacts as a CSV or vCard file.
To add contacts to a different Google Account or Microsoft Outlook:
- Select”Google CSV”
To add contacts to any other email or contact service:
- Select”vCard”
Click on”Export”to download the CSV or vCard file.
Import Google contacts to your new mailbox
Step 1. Look for Google contact
Step 2. Click”More“in the upper left to select”Import“
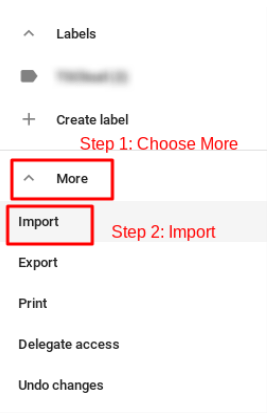
Step 3. Select the source of the import file and prepare to import the previously downloaded CSV or vCard file.
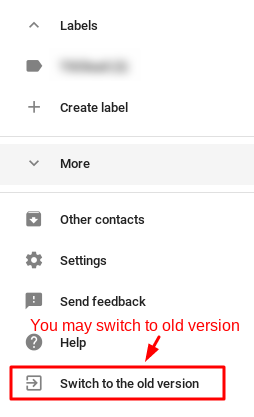
At this time, the system will pop up a notification, because if the new contact has not fully established the function of importing contacts, the system will automatically transfer you back to the old contact to complete the action of importing contacts.
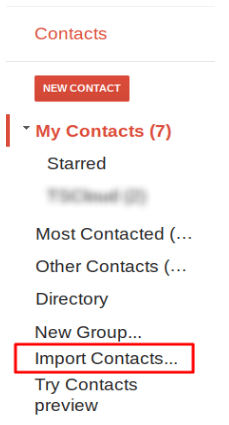
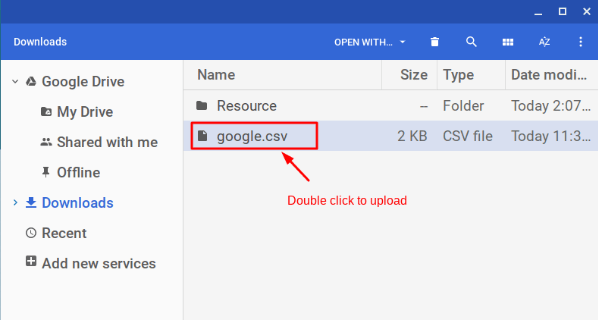
Step 4. After entering to the old contacts interface, select the”Import Contacts“option.
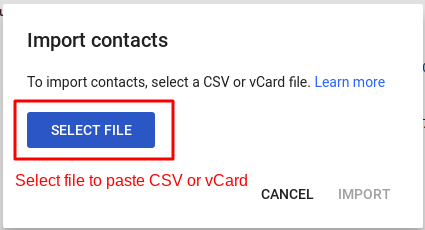
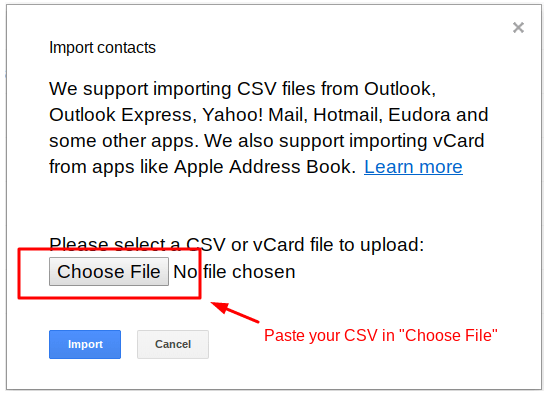
Step 5 – Select the CSV file you want to import and click”Import“
 Step 6. After the import has been success, the contacts will appear in the”Label“column on the right, and the date will be imported for classification.
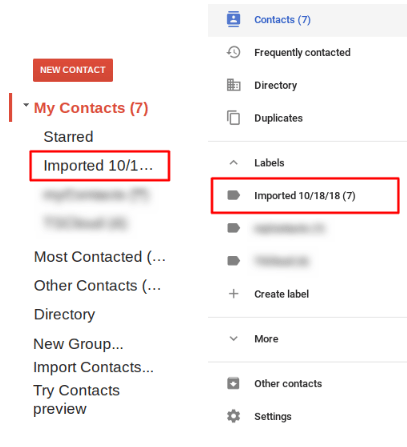
(Left is the previous contact interface, right is the new contact interface)
Step 7. Complete the Importation of Google contacts
To avoid duplicate contacts, merge Google contacts in 3 steps!
Previously, we have completed the import and remittance of the contacts. Now, we can find out the contacts to be merged in the”Contact”application of the new device.
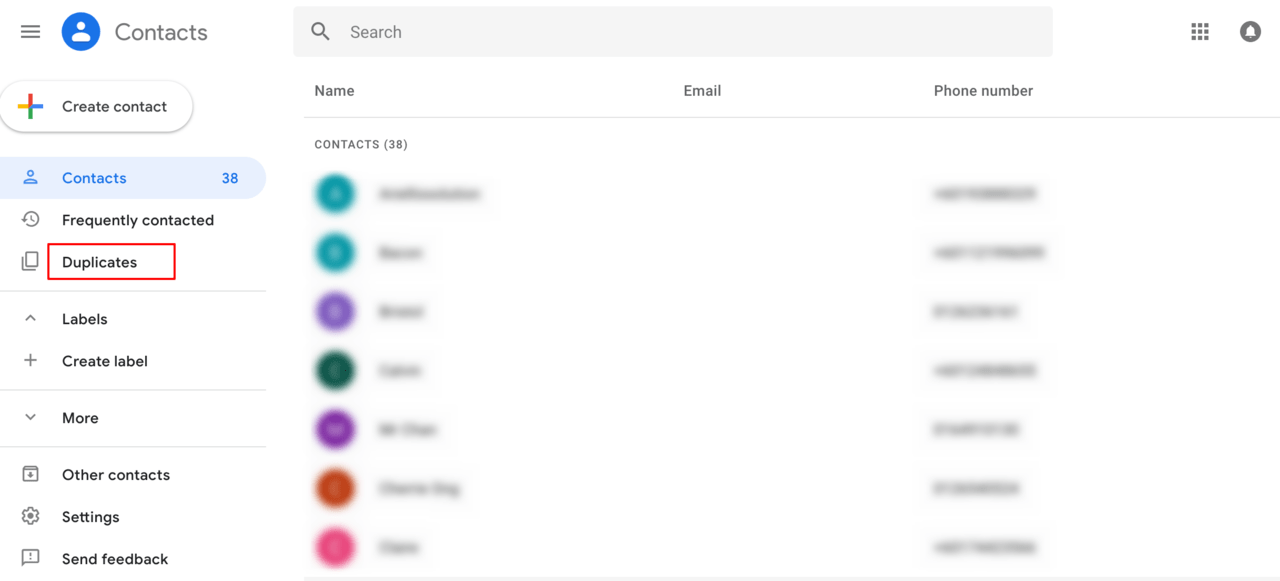
Step 1. Go to your Google Contacts
Step 2. Tap the”Menu“in the upper left and click”Duplicates“
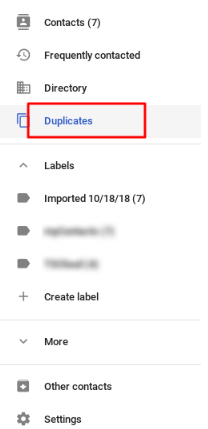
Step 3. After clicking “Duplicates“, if there is no pop up option on the screen, it means there is no contact that can be merged.
- If you want to merge contact one by one, choose”Merge”
- If you want to merge for all duplicate contacts, select”Merge All”at the top.
By using the CSV file to import and export, you can successfully migrate Google contacts information. Isn’t it is easy? In addition to using the merged contacts organizer, you can further use a label function to categorize the contacts, so that the contacts information is more organized!