Have you ever known that you actually can create a website even without a full IT knowledge? You don’t have to spend time to learn Javascript and HTML. Creating a website is so simple and easy with Google Sites Website. You can create a website for internal usage or publish it to be shared on the internet. Let’s look at how the Google Sites can help you in creating your website!
The advantages of using Google Sites Website!
First of all, you would need the G Suite or Google Account to use the Google Sites. Pretty simple, isn’t it? So what are the other advantages of using Google Sites Website?
- Anyone without IT background can create a website.
- Intuitive user interface and user friendly, and it is FREE.
- Can share and collaborate with other users in creating the website.
- All information or materials within the company can be collected on the collaboration platform for a unified management.
Therefore, the Google Sites is quite suitable for making a bulletin board inside the company. Of course, it is also suitable as a website that publishes the results of the project internally. You can easily create a website like how you will edit a document. Let’s look at how to create a website with Google Sites.
Step 1. Make a new Google Sites
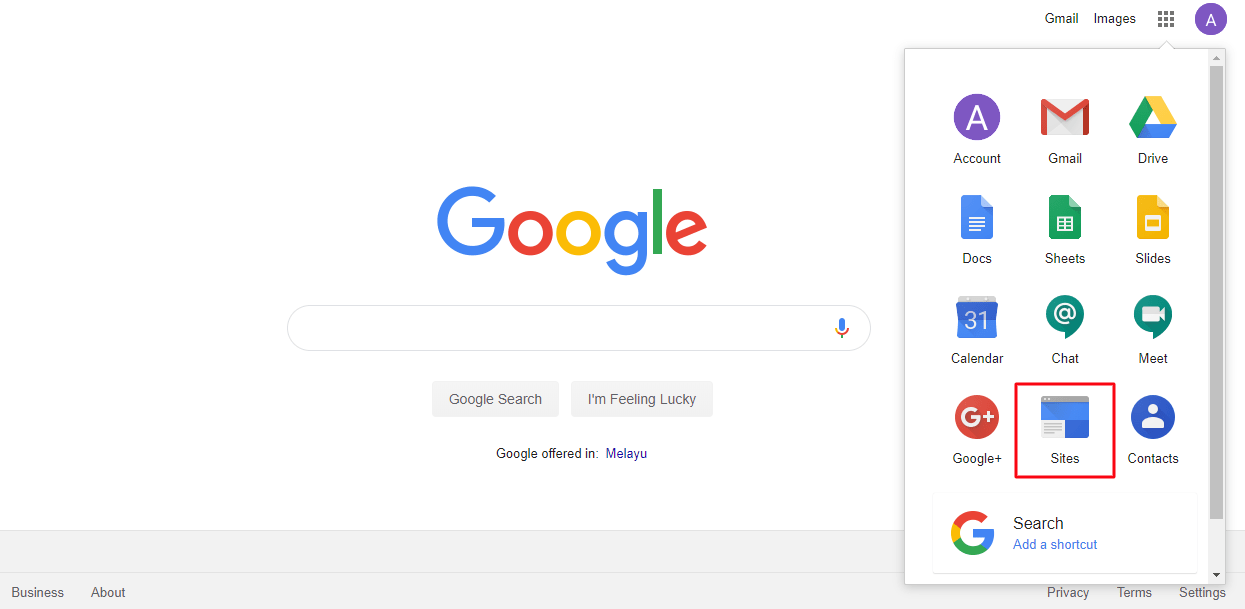
Firstly, log in to your Google Account, then click the Google Sites from the Google Apps Launcher at the top right of the panel.
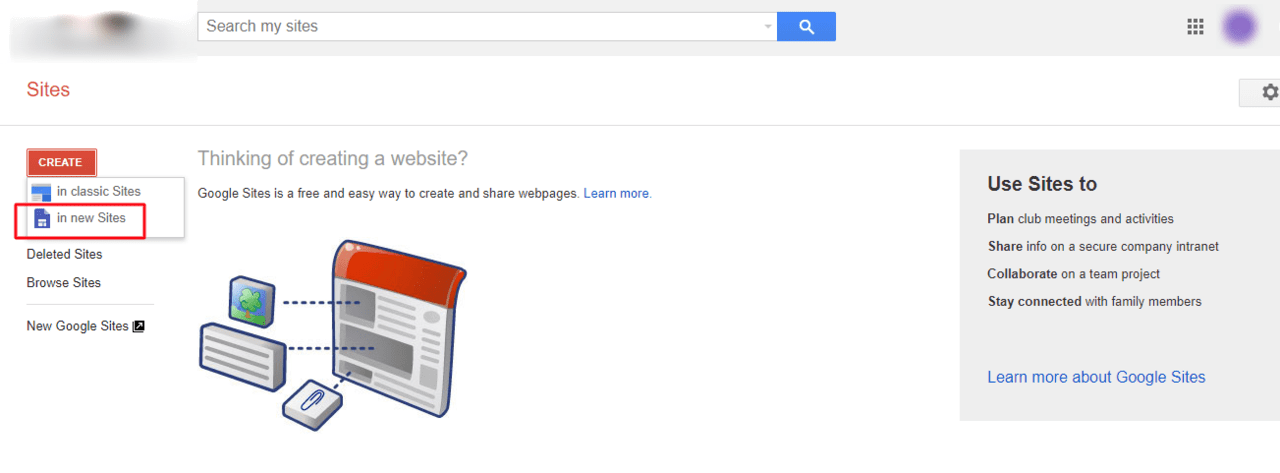
Click “Create”and select to “Create in new Sites”.
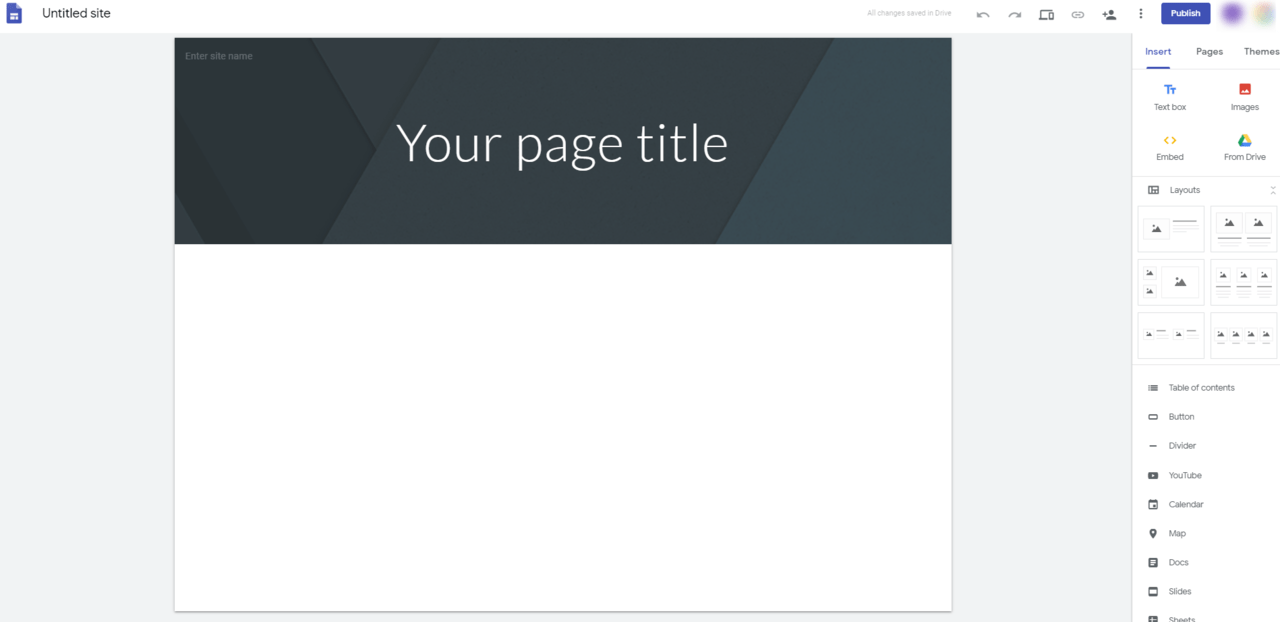
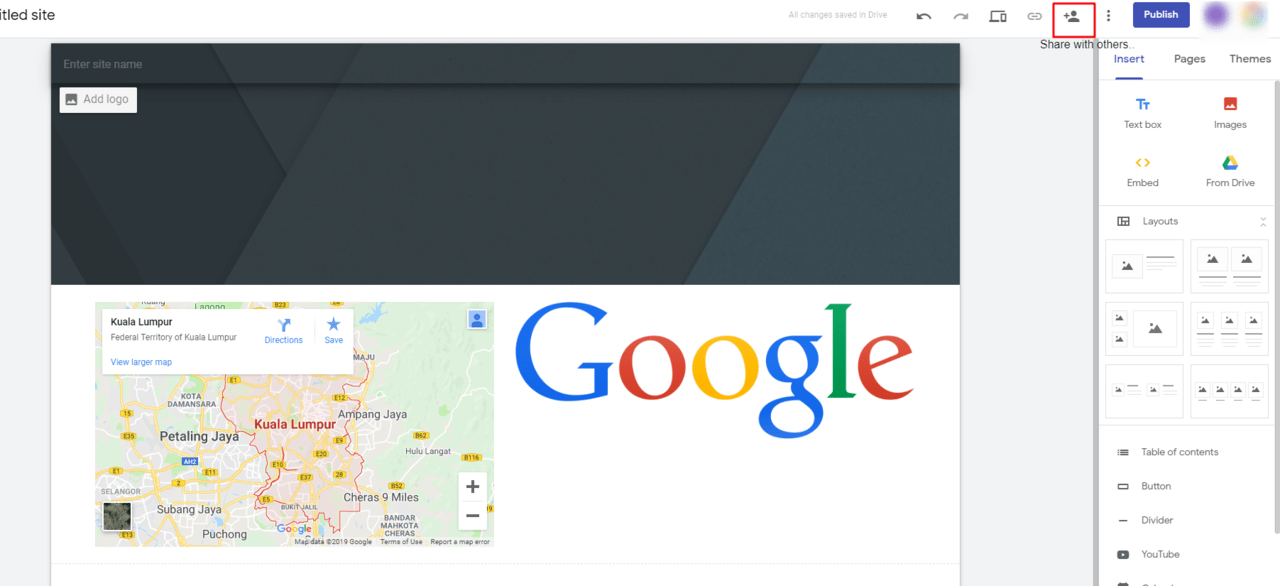
Step 2. Insert Maps, Video, Calendars and other Google Documents
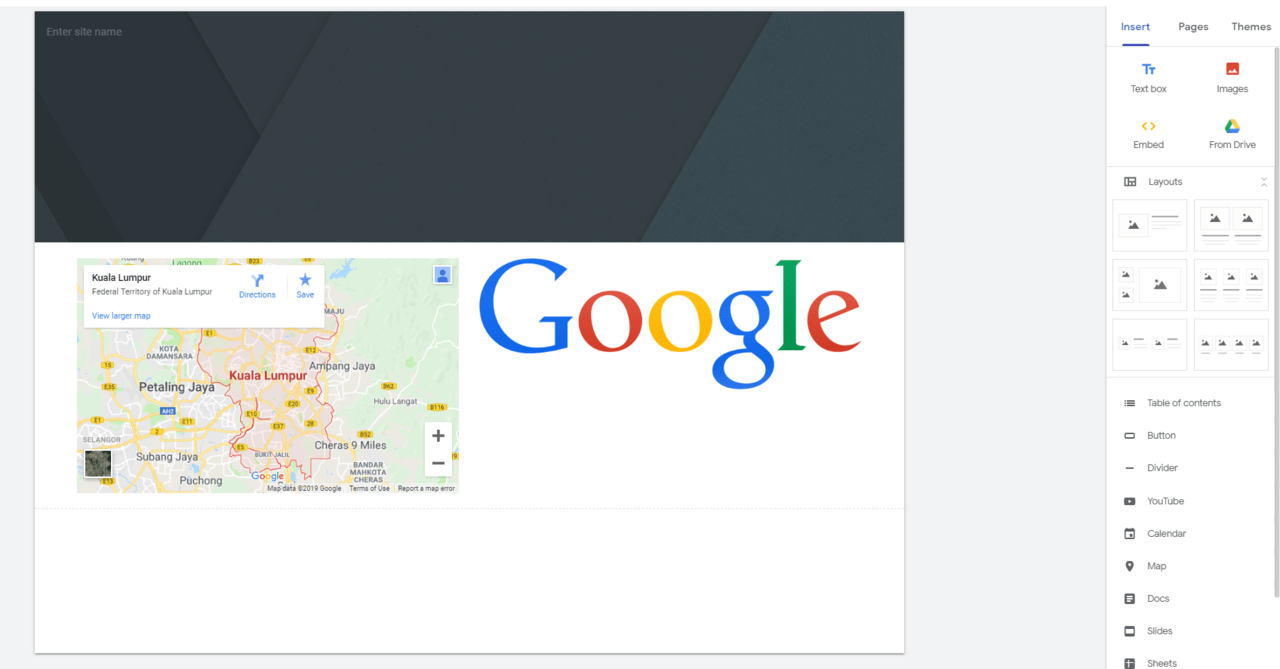
The new version of Google Sites has a better intuitive interface and more user friendly. Thus, user with no IT background need to be worry free where they can create their own beautiful website without any hassle. The user can easily choose a variety of options under “Insert”such as Google Drive Files, Google Maps, and others, then drag them to the desired location in the Google Sites.
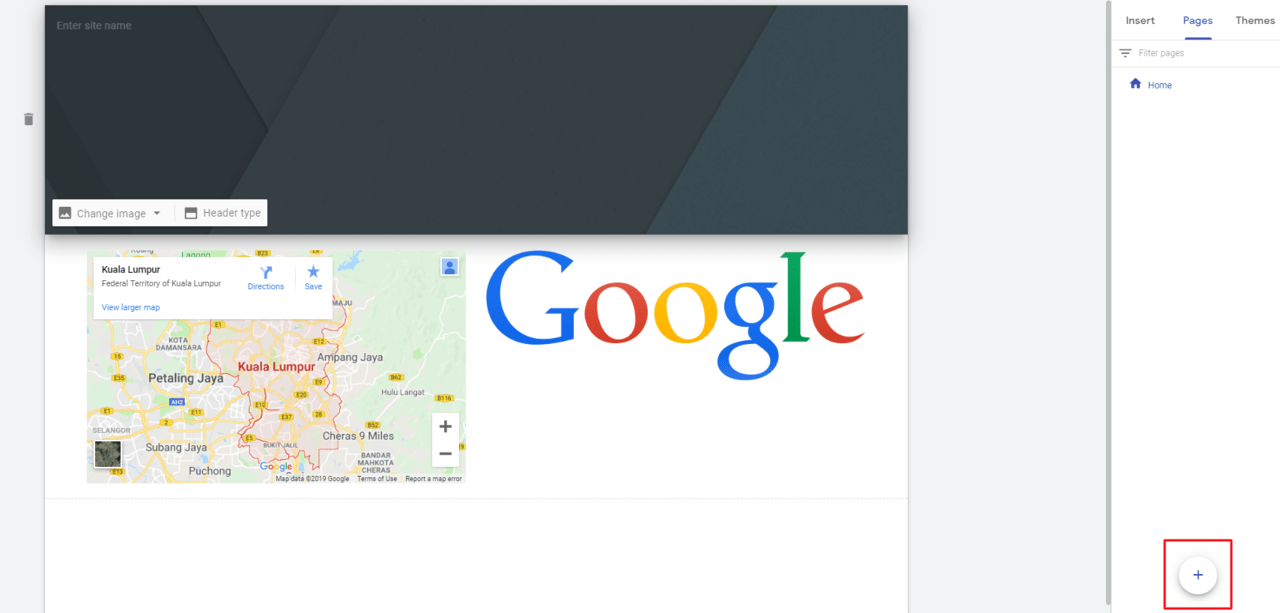
Step 3. Add a new page and new sub-page
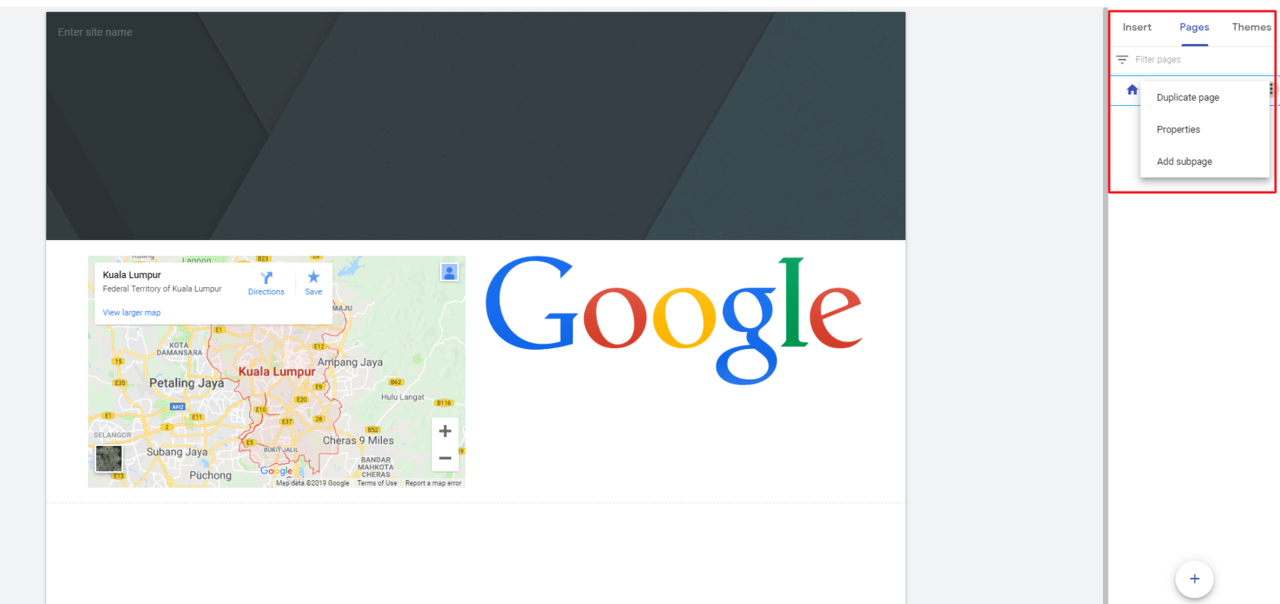
Under the”Pages”,click”+”to add a new page, and click the more option beside the page to add a subpage.
Step 4. Set a theme for your Google Sites
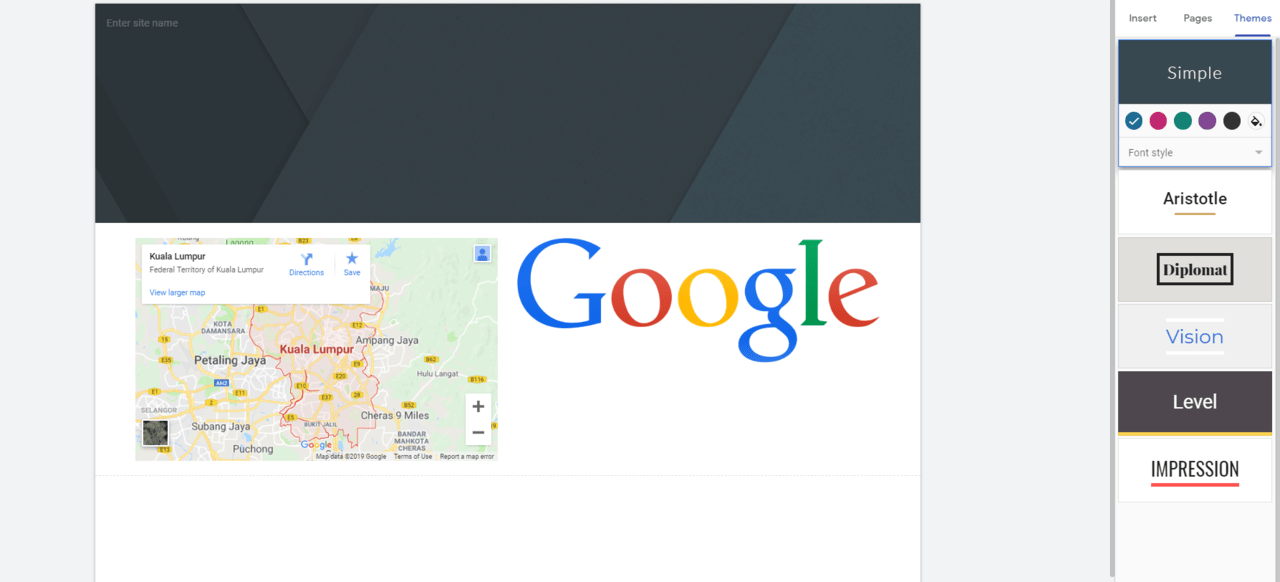
In “Theme”, you can always change its appearance according to your preference. Other than the preset theme, you can also customize your Google Sites by uploading images and changing the colour as the image above.
Step 5. Publish your Google Sites Website
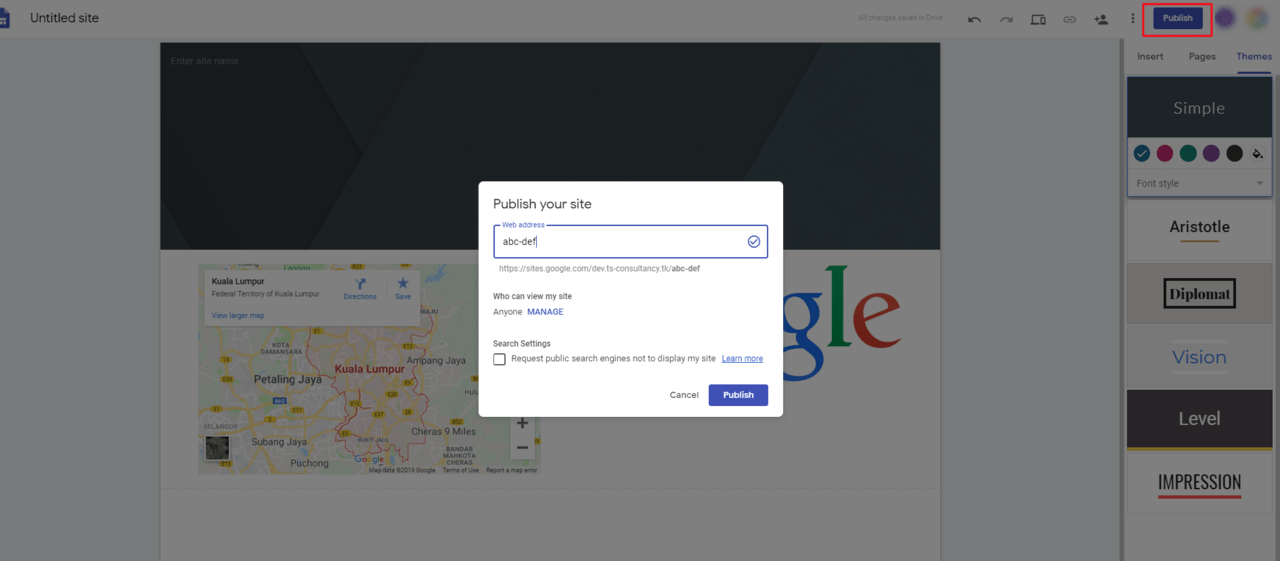
After you have created your website, click the “Publish” to publish your website! You can name your website and it will become your website name, and you can also set it to “Anyone can find and view the published version”.

In order to meet different size of screen as most of the people nowadays heavily using the mobile devices, Google has launched a smart system to automatically adapt and adjust the layout of the website to different size.
User can also invite collaborators to edit the website together, to faster your progress and make it fun. Above are the steps that shared with you on how to create a website using the Google Sites. Isn’t it is so simple? Try it now!